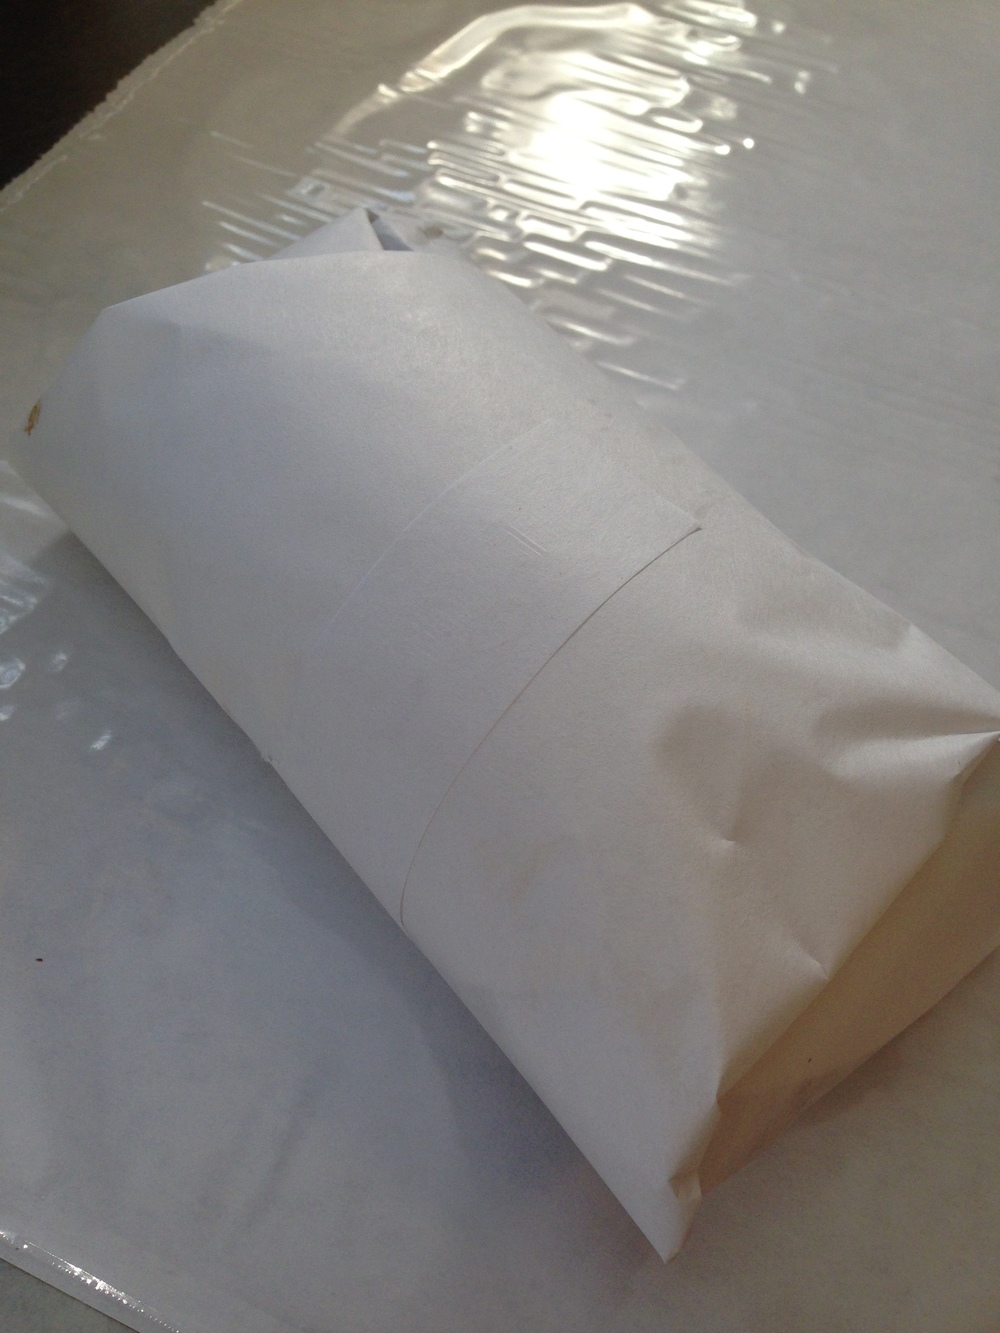
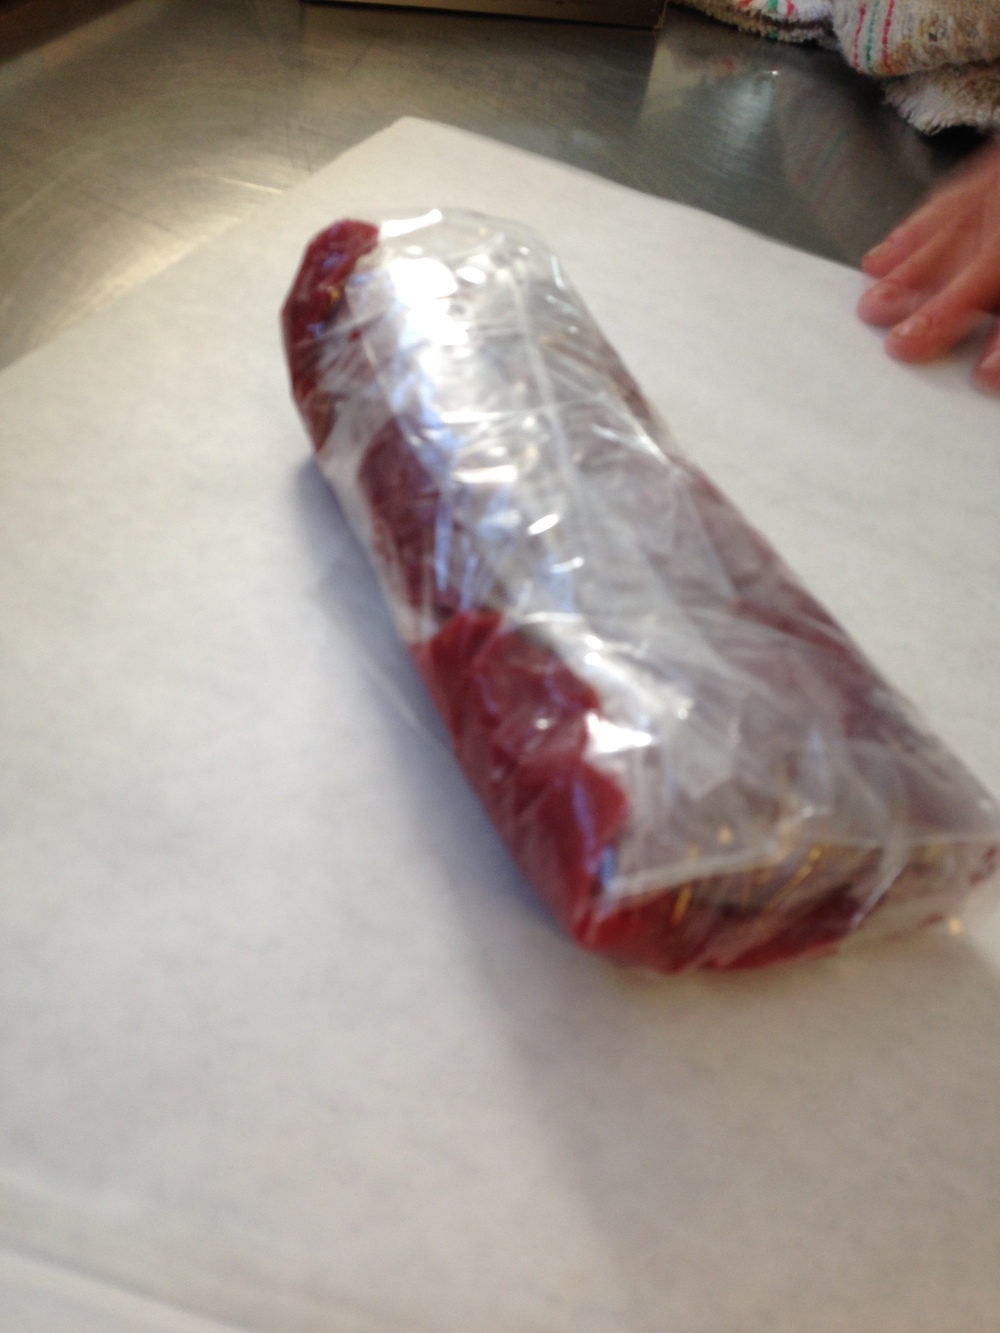
 Wrapping your game meat is the final step in processing before the freezer and arguably the most important step. There are many trains of thought when it comes to wrapping game meat but the most important thing that you can do is adequately remove air from your packages. Removing the air will help prevent freezer burn keeping your harvest fresher for longer periods of time.
Keep in mind that people eat with their eyes. If your game meat packages are bloody and dirty looking, your guests are not going to be as excited to share in the joy of dining on your harvest. In order to keep your packages clean, your work station must also be kept clean and free from blood or other debris from processing.
To vacuum seal or not to vacuum seal?
Vacuum sealers are a great worth wile investment that cleanly and efficiently remove the air from your packages extending the freezer life of your harvest. But, vacuum sealers require a financial investment and the seals can fail.
My family has processed our own meat for years without the aid of a vacuum sealer with simple white butcher paper, plastic wrap or baggies.
Here are a few simple steps to follow if you are not using a vacuum sealer:
 1. Lay white butcher paper out with the waxy side facing your meat.
2. Place an additional layer of clear deli film over the butcher paper. This double layer will help keep the cold air from your freezer from coming into direct contact with your meat which will help prevent freezer burn.
3. Place your first layer of meat on the deli film.
4. Separate additional layers of meat in the package with and additional layer of clear deli film.
 5. Use your fingers to “pull” the meat into the layer of plastic wrap that was placed over the butcher paper in step 2. This will help remove excess air from being packaged.

6. Wrap the meat package in the butcher paper. Keeping the wrap as tight as possible.
7. On the outside of the finished package list the species and cut of meat as well as year with a permanent marker or stamp.
 Pre-marinate
Life gets busy and it certainly comes in handy to have meat that is frozen pre-marinated so that I simply have to take my meat out of the freezer, thaw and cook. If I am marinating meat, I use baggies instead of flat clear deli film. Here are a few simple steps to follow if you would like to freeze some packages of pre-marinated meat.
1. Lay white butcher paper out with the waxy side facing your meat. Place the additional layer of clear deli film over your butcher paper
2. Fill a plastic bag with desired amount of meat
3. Place the desired marinate into the bag with your meat.
 4. Remove as much excess air from the bag as possible.
5.Wrap the meat package in the butcher paper/deli film. Keeping the wrap as tight as possible.
Rotate and organize your meat
If you have meat that remains from the year prior, be sure to set that aside for immediate consumption. I also like to compartmentalize meat by species and cut when possible which makes for a quick grab from the freezer.

